With this easy to follow, printable how-to with pics you can install new wiper blades on your car and save money! Why is it that we never seem to remember to change our windshield wipers? You know you need 'em, you know they're cheap, you know how easy it is to install new wipers, but your windshield is still carrying those worn out, useless strips of rubber.
There's one time we always remember to change our wipers - when it starts to rain.These are bracketless type wipers, common on many new vehicles.
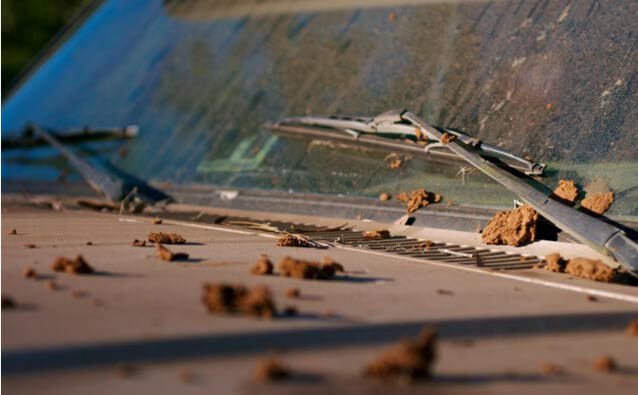
The first step to replacing your windshield wipers is getting the old worn out wipers off. Be careful when removing them, the wiper arm is metal and your windshield is glass. One clumsy move and you could scratch or crack the windshield - not good.
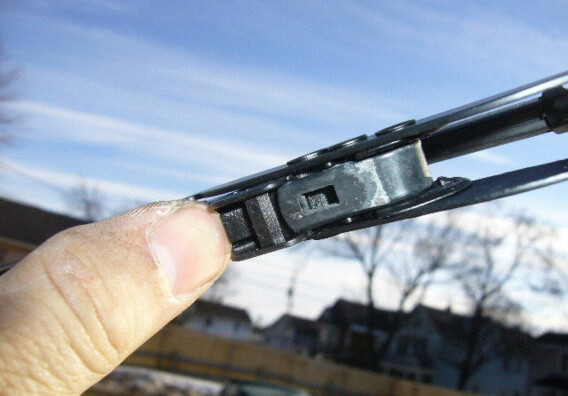
To remove the old wiper, pull the entire assembly away from the windshield, it will prop itself in the raised position. With one hand holding the wiper arm, use your other hand to depress the small tab on the underside of the wiper where it meets the metal arm.
With the tab depressed you can slide the wiper off the arm by pulling the center toward the bottom of the wiper arm.
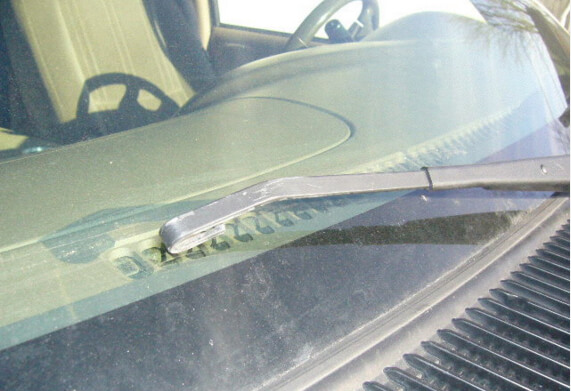
The metal windshield wiper arms that hold the wipers are spring loaded so that they keep your wipers pressed to the windshield in a storm. Unfortunately, this means that without the soft wiper on the end, that metal arm can do some serious damage to your windshield!
Prevent the wiper arm from snapping back and hitting your windshield by carefully resting it against the windshield while you are getting your new wiper ready to install.
Even if you just turn around to grab it, play it safe and "park" the arm in the down position.
*Park the wiper arm against the windshield to keep it from snapping back.
Looking at the empty wiper arm and the new wiper, especially the attachment point, can be a little daunting. It can be hard to picture how it all goes back together. The key to getting it done quickly and easily is to line everything up before you start trying to click it all into place.
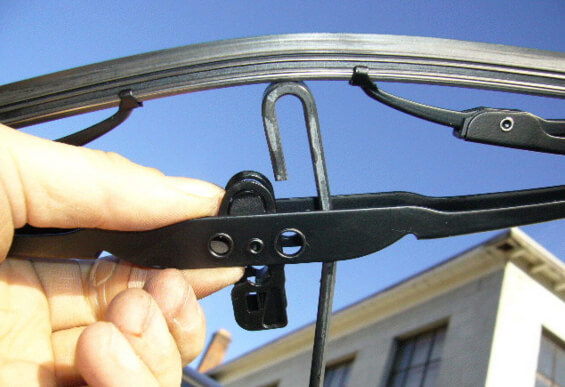
Looking at the side of the wiper where it attaches to the metal arm, you'll see that one end of the plastic clip is flat and the other has a curve across the top. Rotate the plastic clip until this curve is pointing toward the wiper blade.
Now hold the wiper upside down next to the metal wiper arm, where you'll see that the curve in the arm (hook shaped) matches the curved top of the plastic clip.
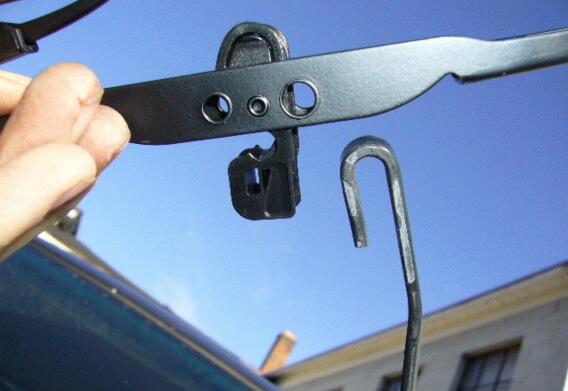
Now that you've lined everything up you can put it all together. There's a trick to this part, too.
With everything lined up, lower the wiper over the wiper arm, putting the arm between the sides of the wiper and with the open end of the "hook" facing the plastic clip.
Move the hook over the plastic clip, then pull the wiper upward so that the clip's rounded edge slides into the hook.
Pull it tight so the assembly clicks into place.
Carefully lower the wiper back to the windshield.
Repeat the whole process for the other side and you're done!
